In this article I show you the best apps I used on mobile to edit photos and videos.
Also, some before/after editing pictures.
Regarding my posts on the social medias like Instagram I use: Lighroom, Snapseed, Facetune, Peachy & Quickshot
For story telling: Unfold, Adobe Express, StoryLuxe & Tezza
For my editing videos: Inshot, CapCut & VN
For the video filters: Tezza, Tone & VN
HOW I EDIT MY PICTURES (LIGHTS, CONTRAST, SATURATION, TONES…)
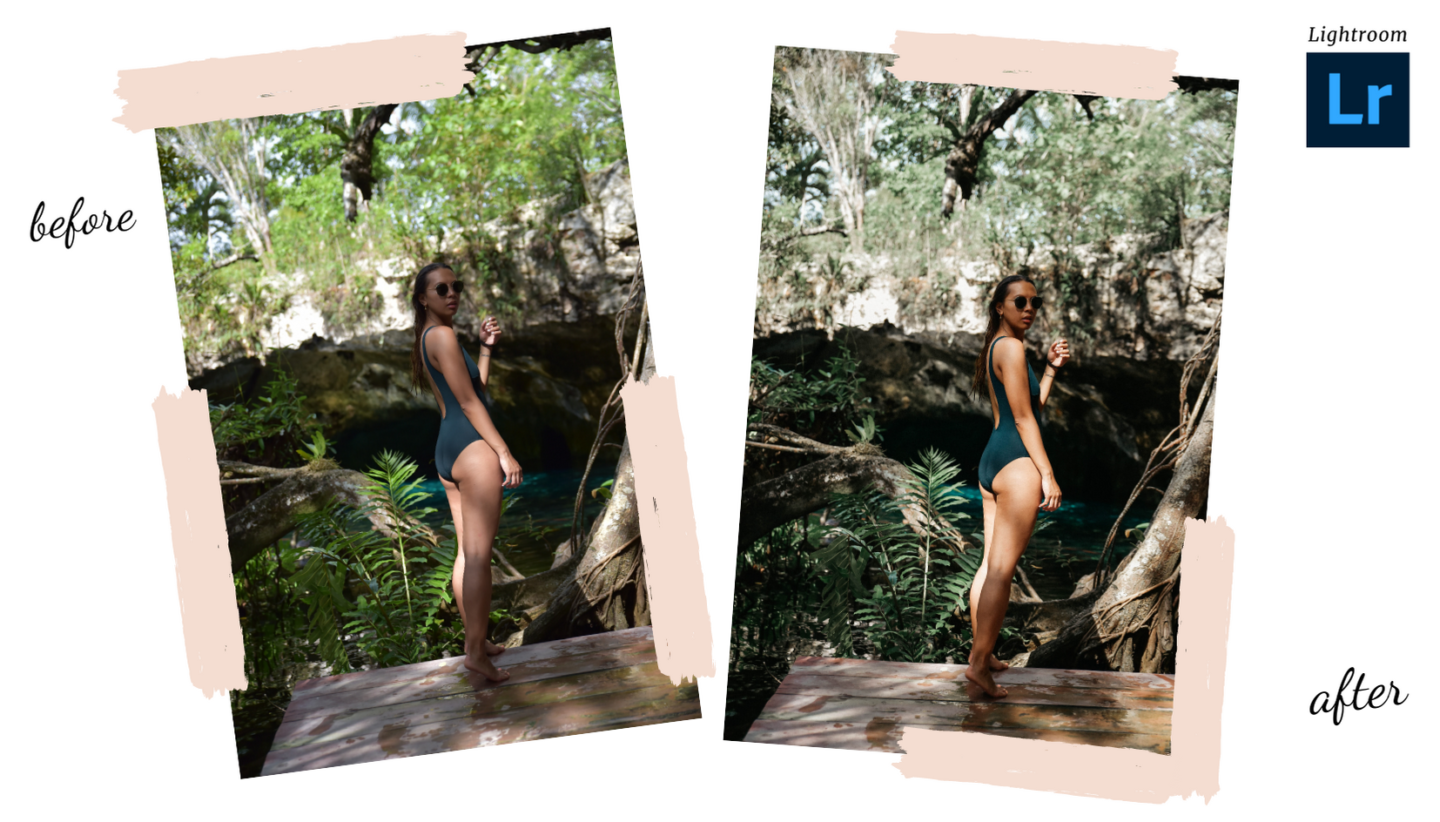
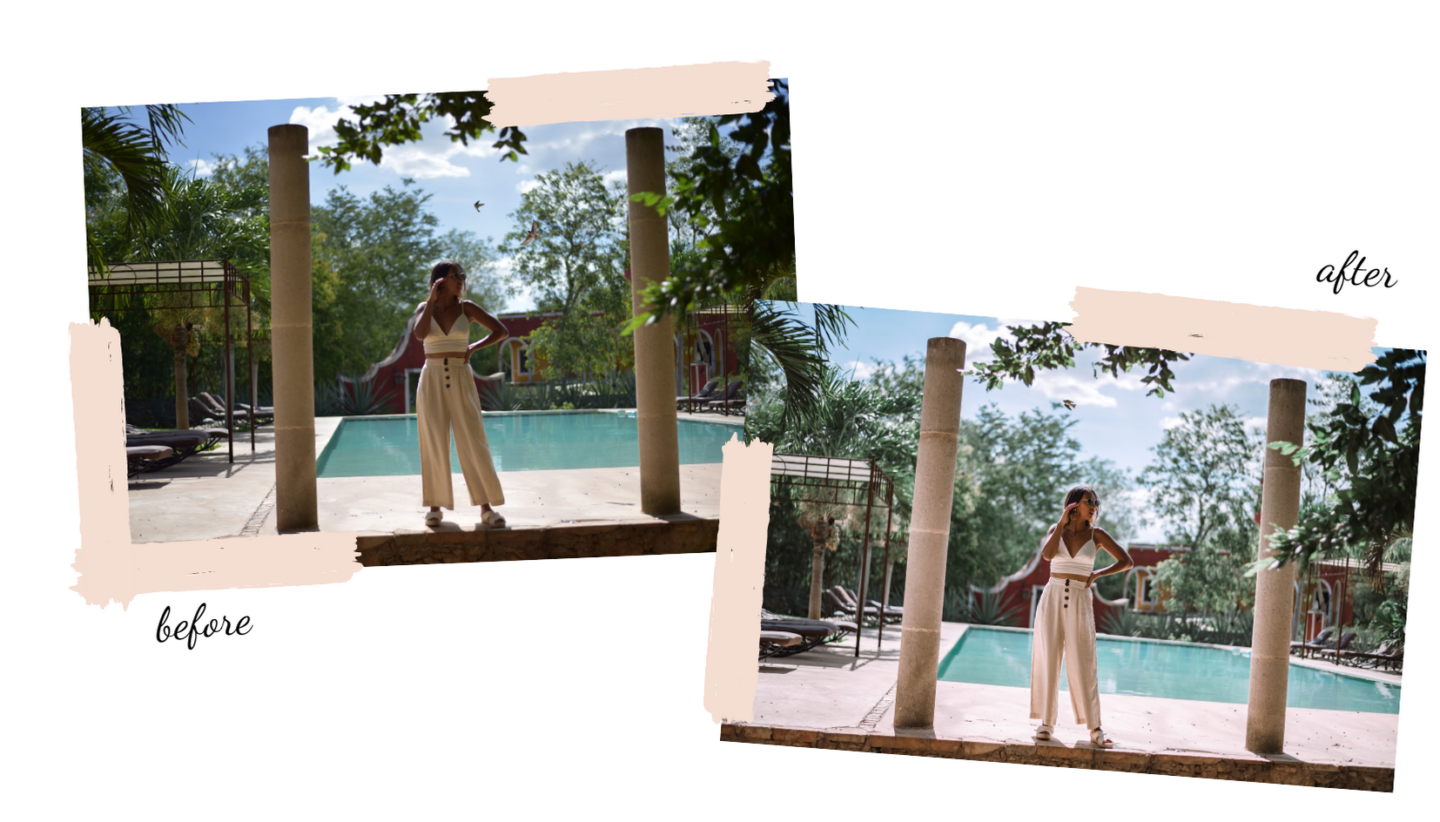
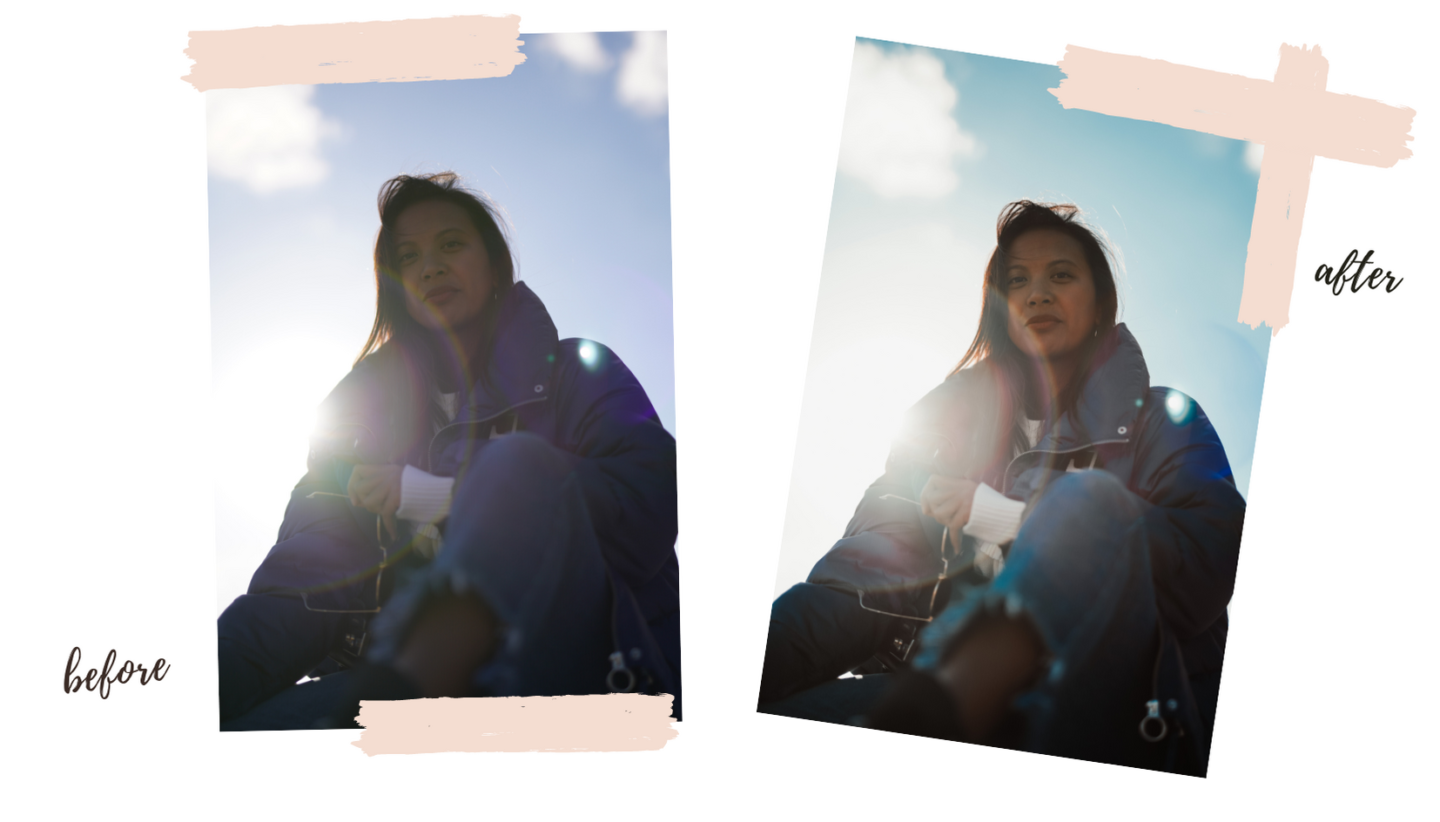
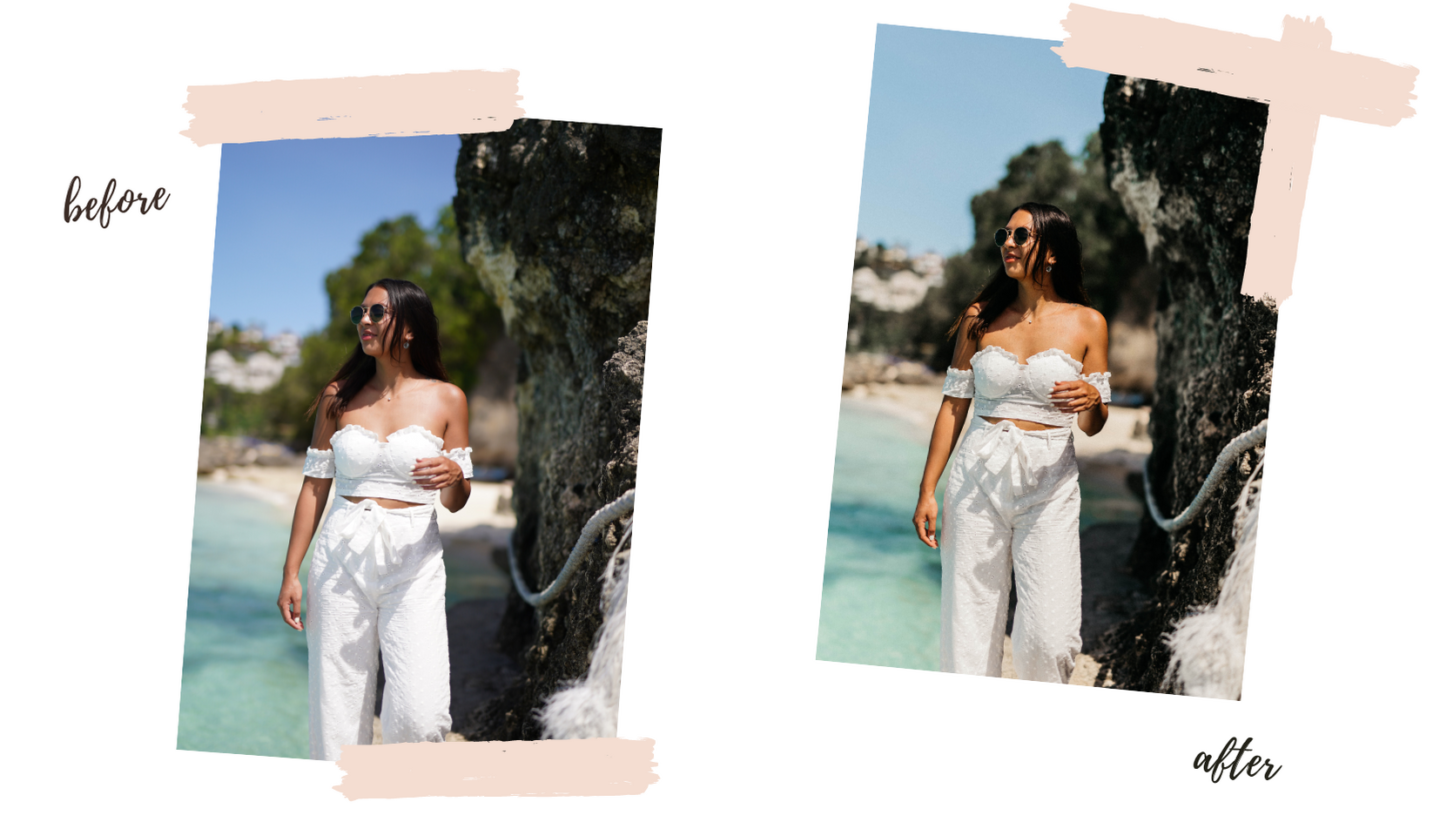
I used Lightroom for simple edits like the light, the contrast, the saturation, tones, etc…
Sample before/after
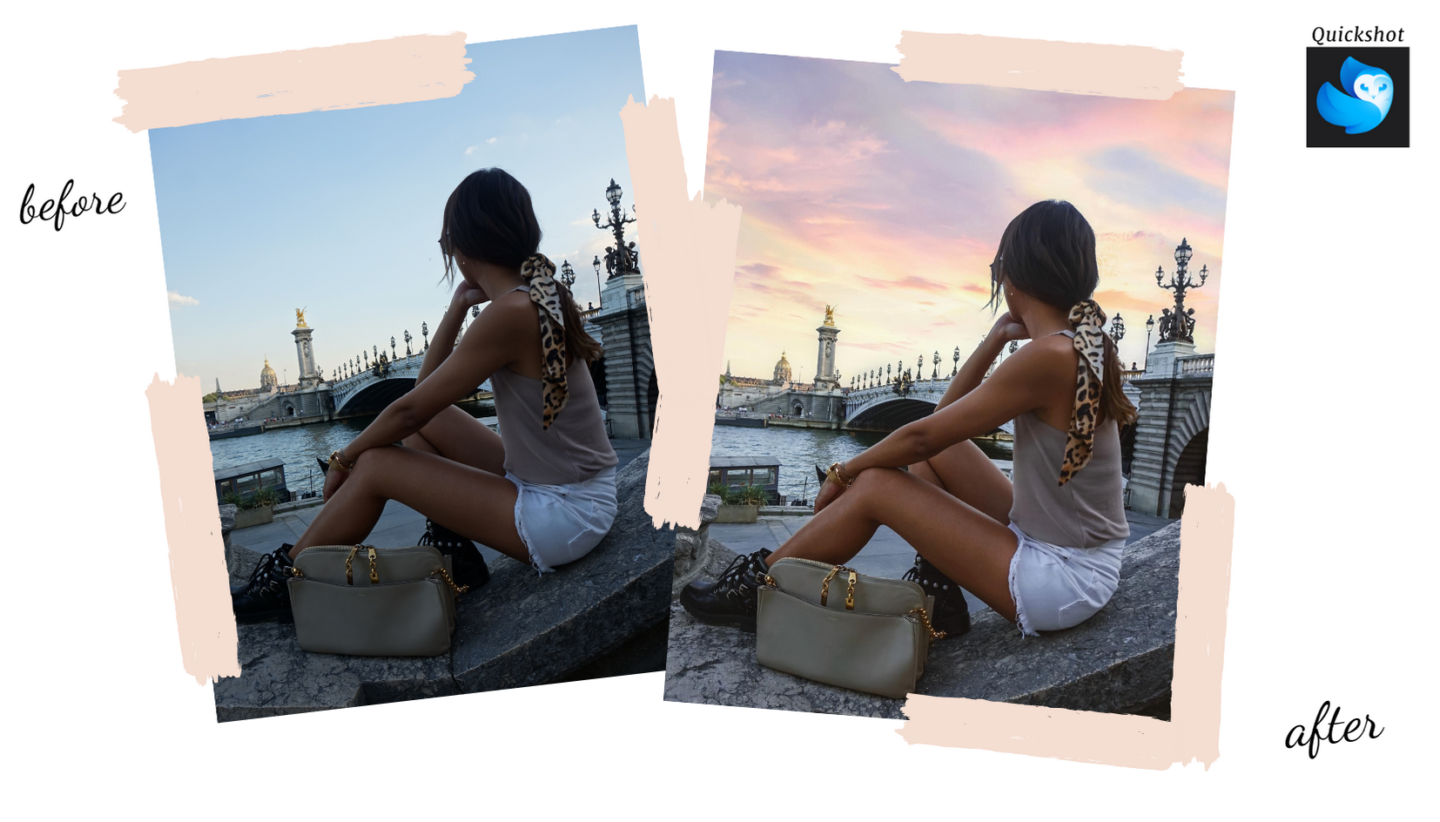
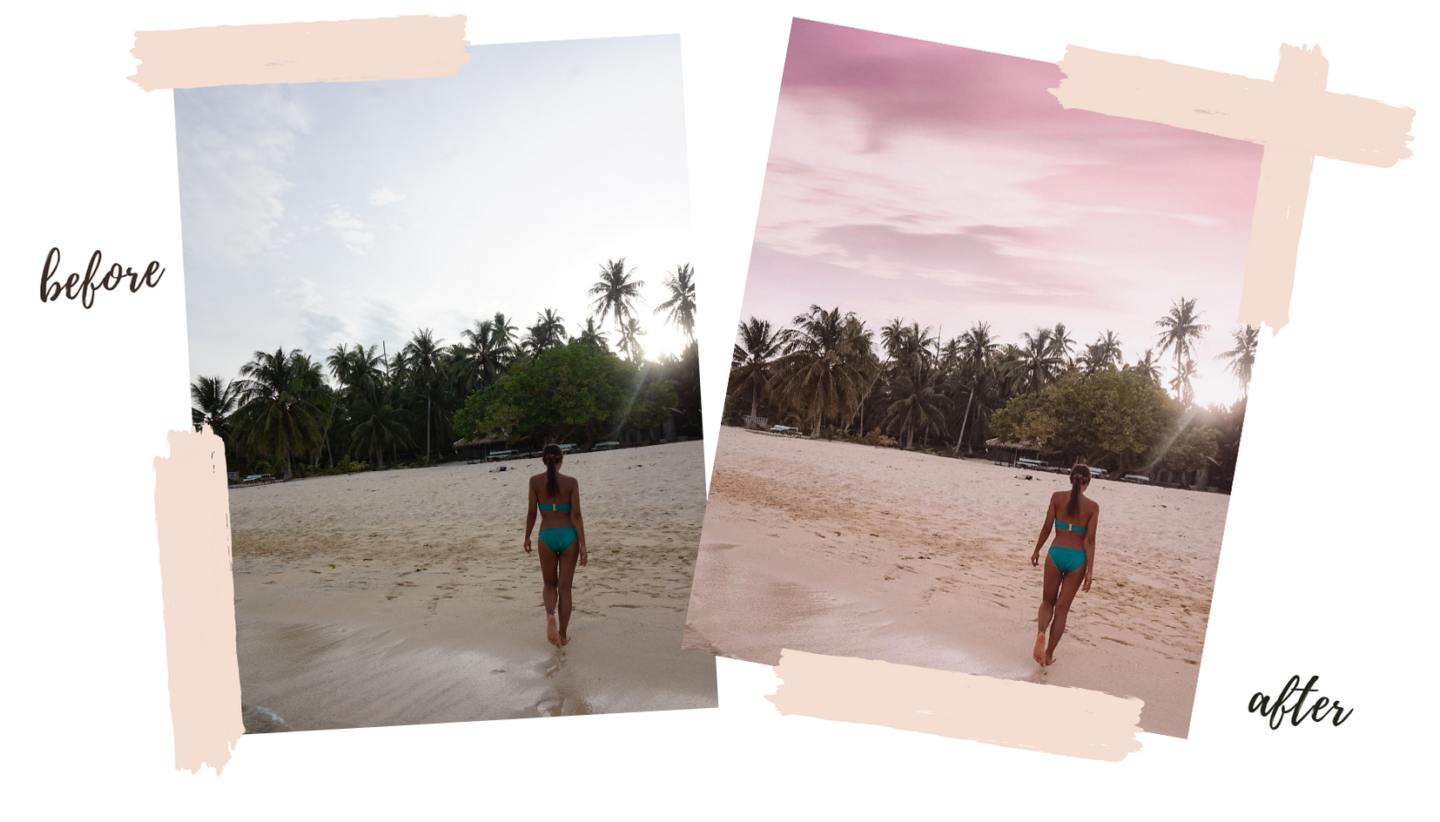
WHAT APP FOR CHANGING THE SKY
Yes, it’s possible to change the sky of a picture. I used Quickshot it’s a paid service but it’s amazing how you can stand out your pictures just by changing the sky.
HOW TO DELETE AN ELEMENT/A DETAIL FROM A PICTURE
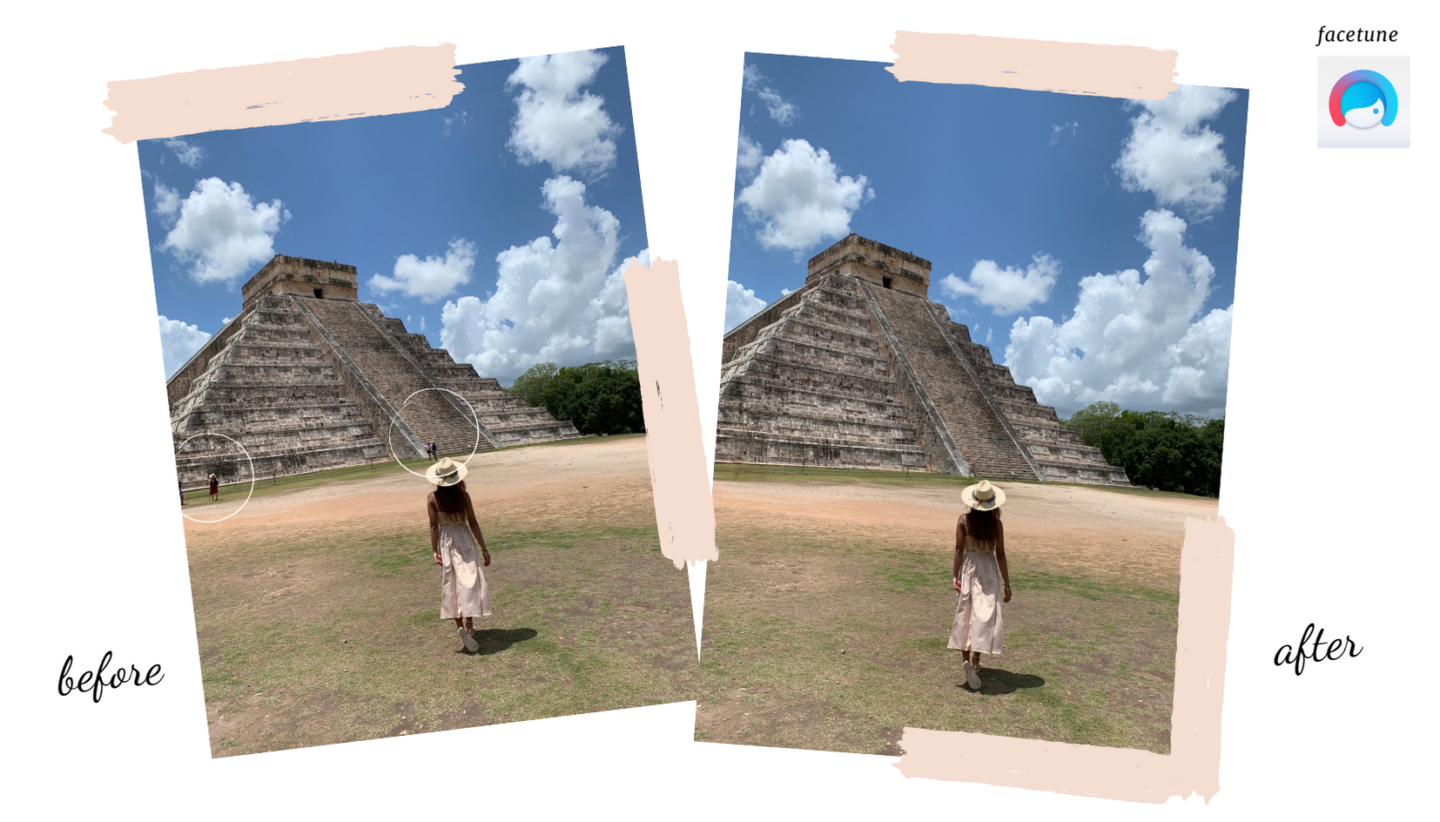
There are several mobile applications to delete element from a picture ; but the one I prefer and easy to use is FACETUNE.
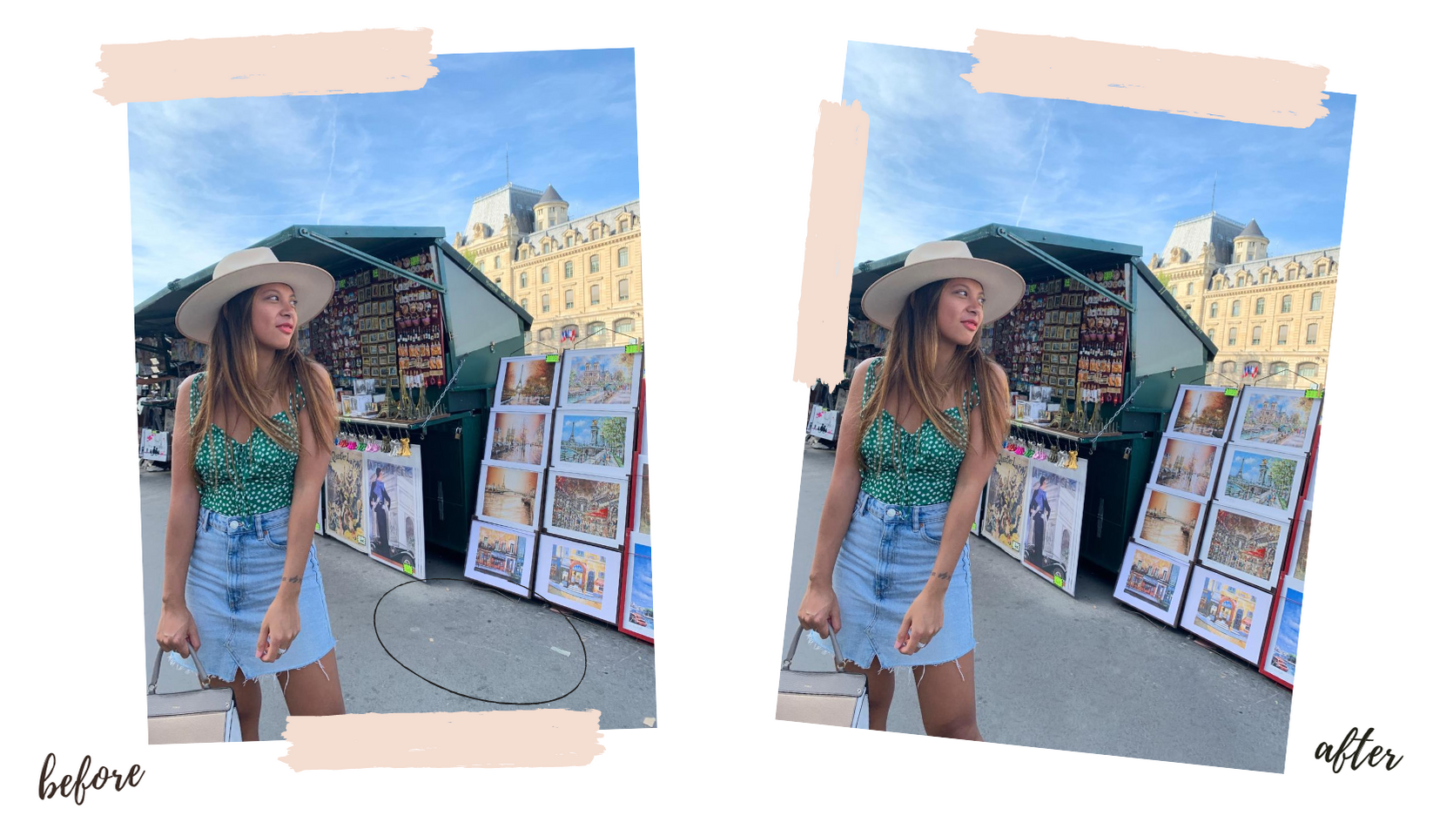
- To delete persons/elements (→ PATCH function & sometimes I use also SMOOTH after to blur a bit the part I edit)
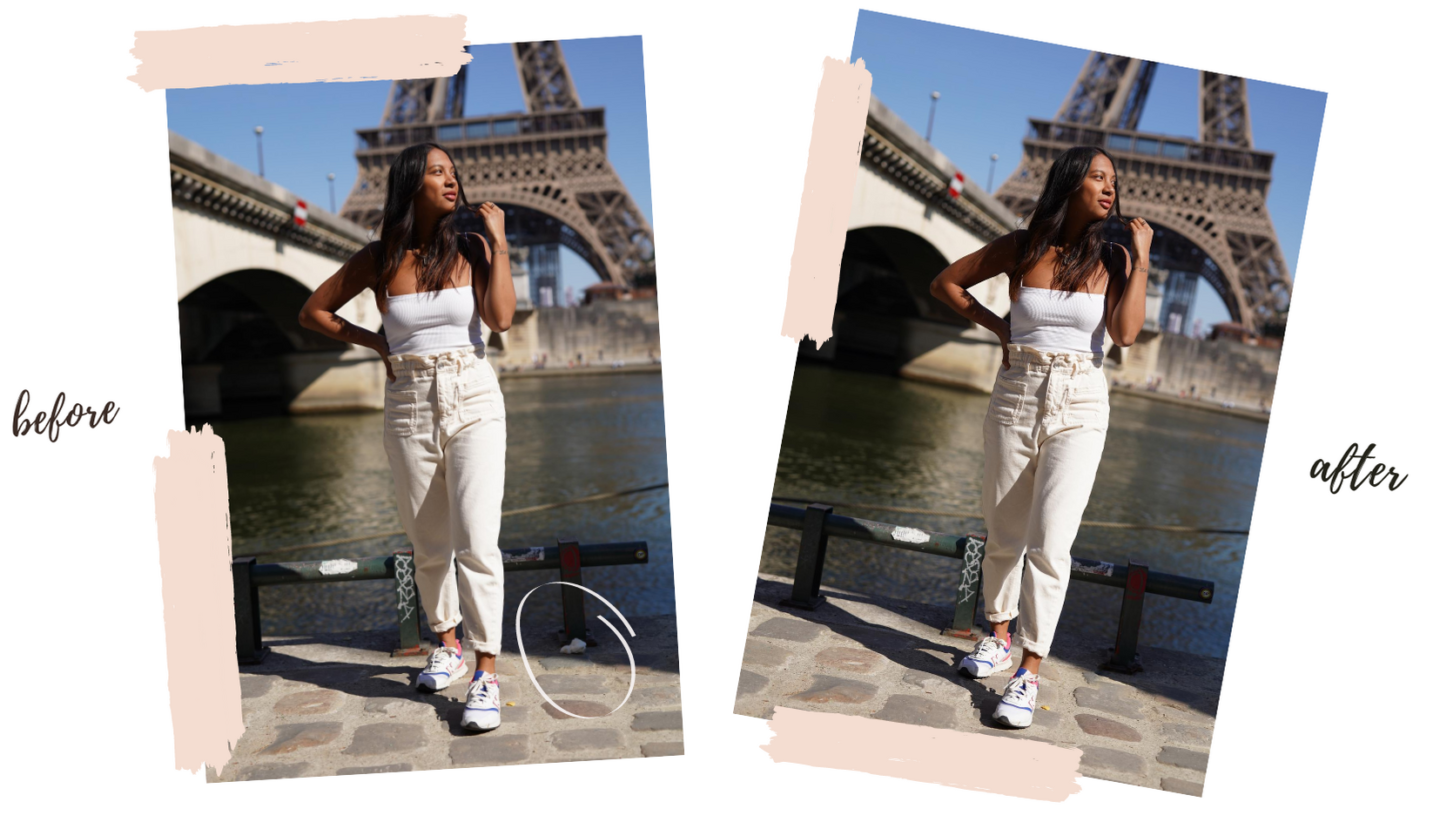
- To clean the floor (→ PATCH function to remove the element, TONES to unify the colors & SMOOTH to fade the edits.)
HOW TO TONE DOWN A DETAIL
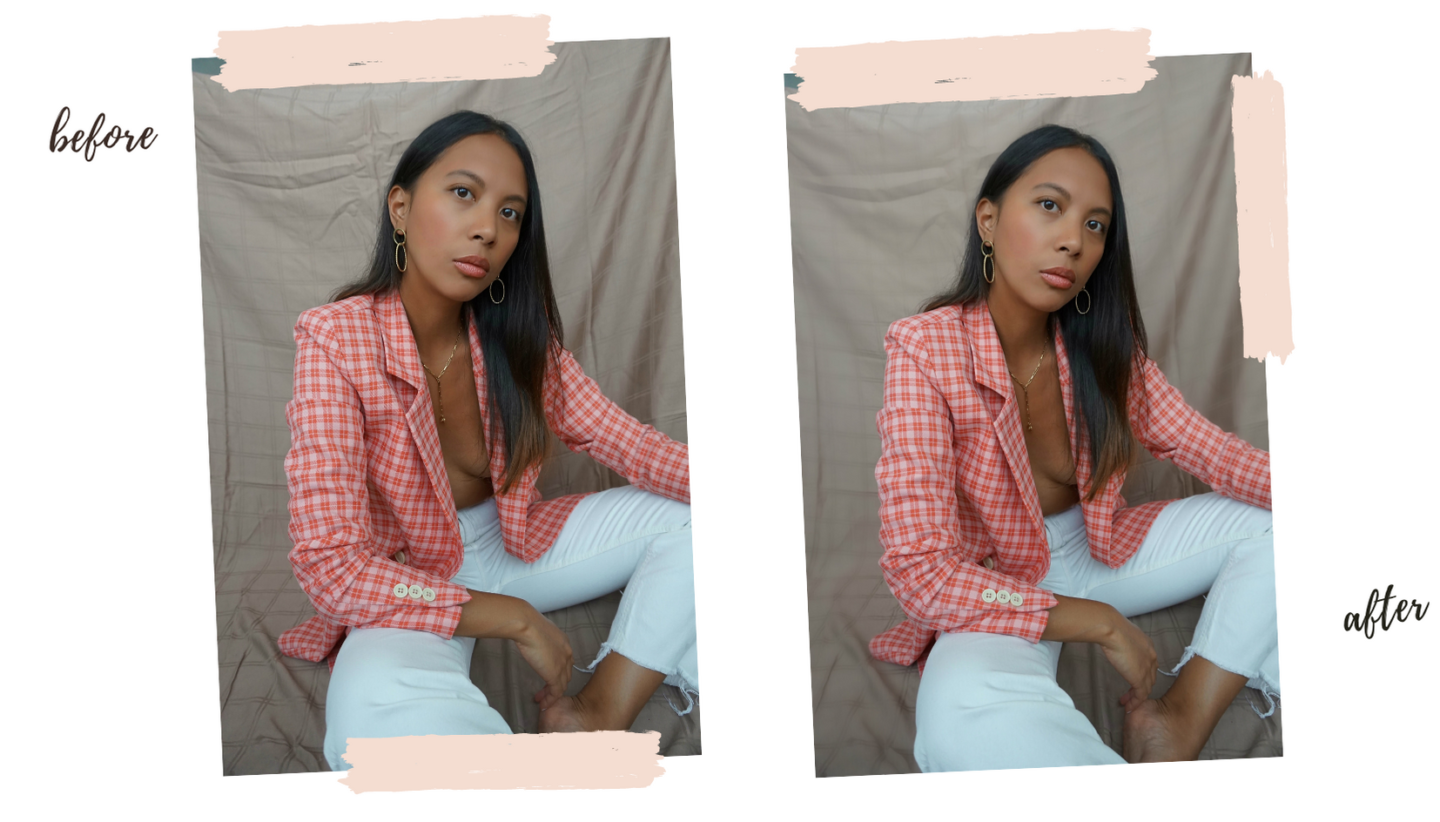
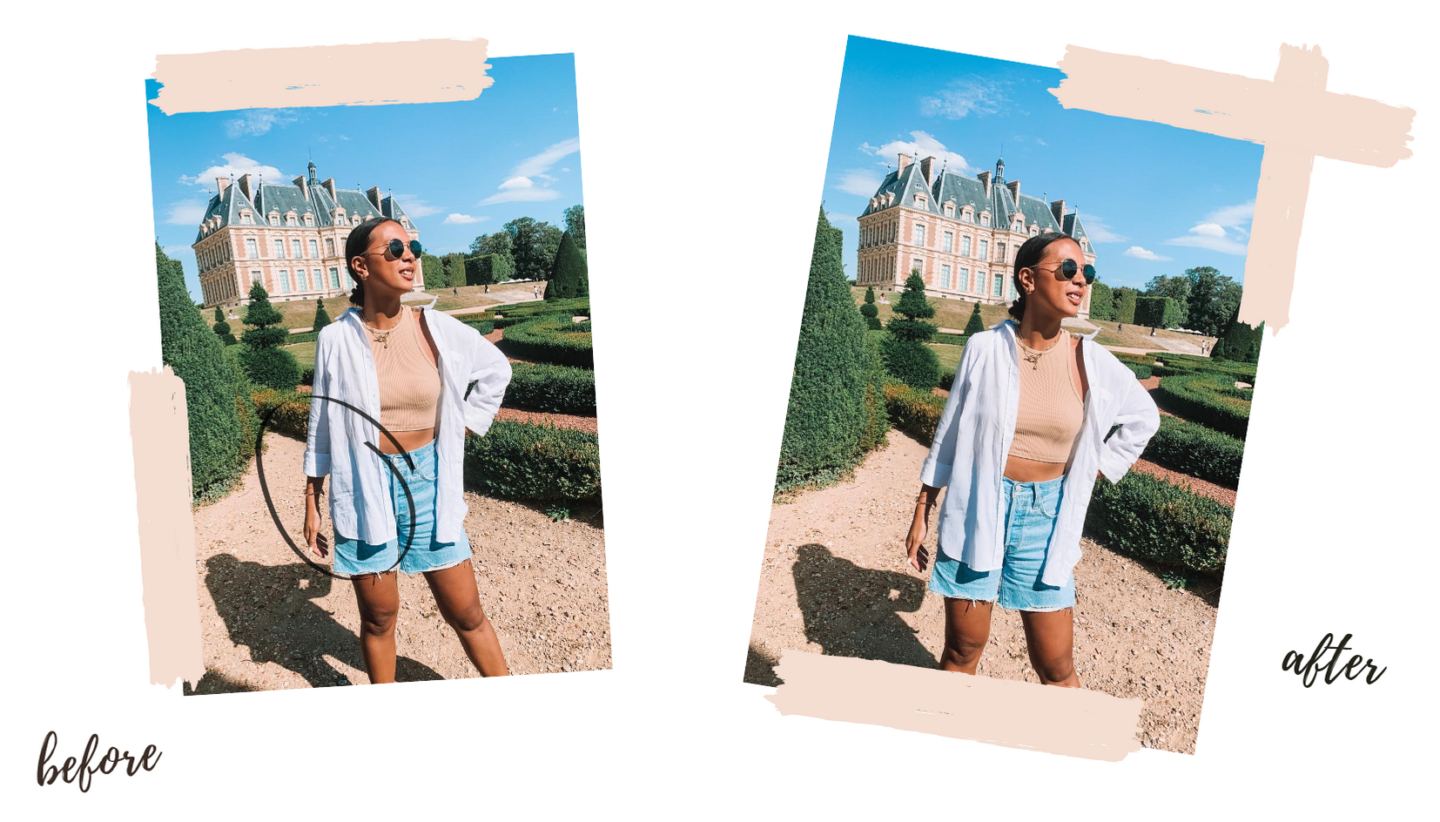
I use also Facetune application to reduce the creases so it gives an ironing and smooth effect. The creases here are still visible but less pronounced! It’s very practical for the creased clothes (→ SMOOTH function & SMOOTHER for creases very scarred)
HOW TO EDIT A SPECIFIC ELEMENT OF THE PICTURE FROM A COLOR
Here’s a sample with the photo below.
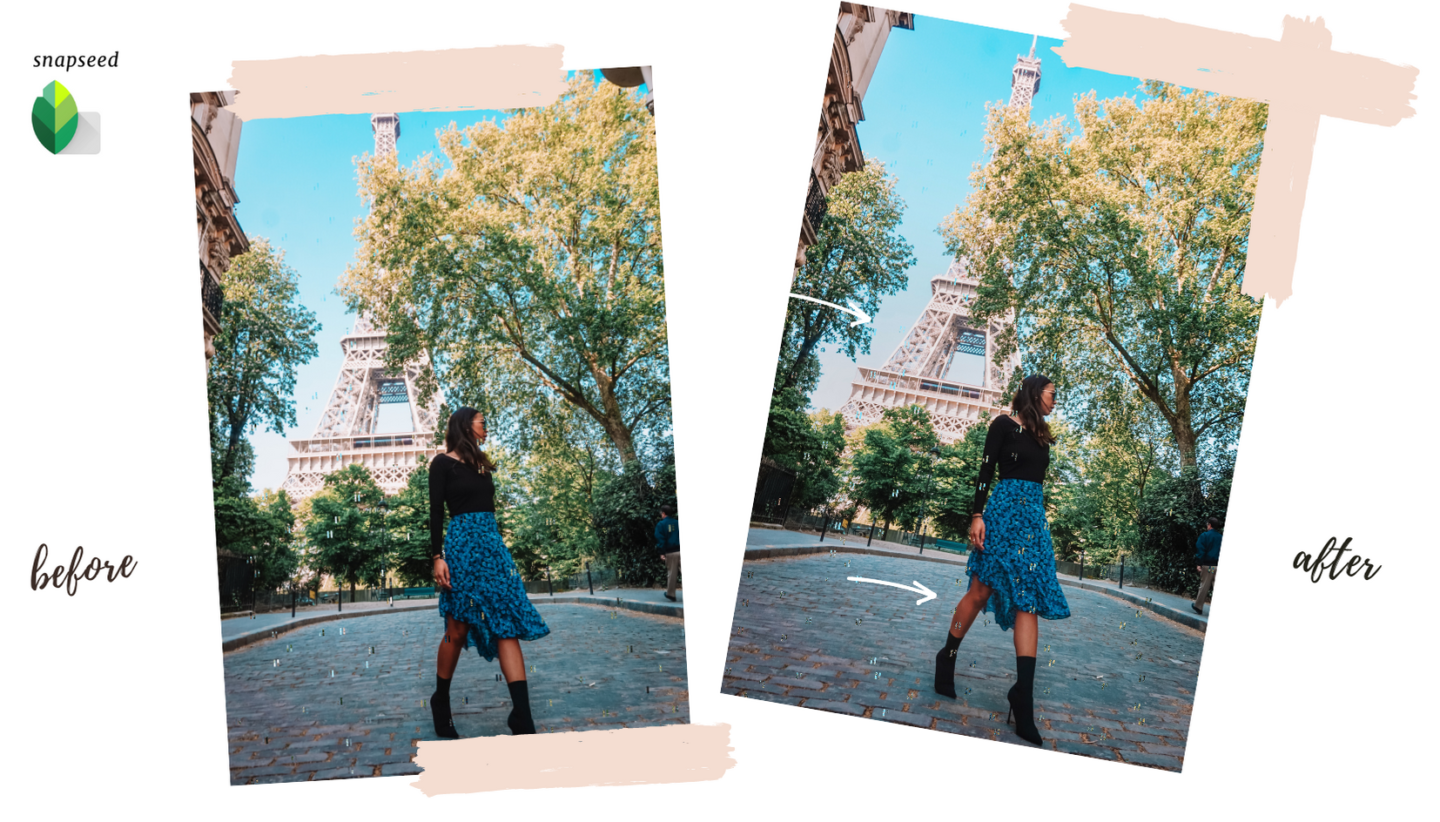
- I found a part of the Eiffel Tower too bright and the details are less visible
- My right leg is dark
With Snapseed application, without editing all the picture, you can edit a part or a small detail of an image from picking a color. It’s also possible to do it on Lightroom app but the selection is bigger and less precise, I believe that with the Snapseed app, the function Selective is easier to use.
HOW TRANSFORM A LANDSCAPE PHOTO INTO PORTRAIT FORMAT OR VICE VERSA (WITHOUT LOSING QUALITY)
I use PEACHY app. There are several functions on it but I use specially TALL. It allows to widen the sides of the picture without losing quality.
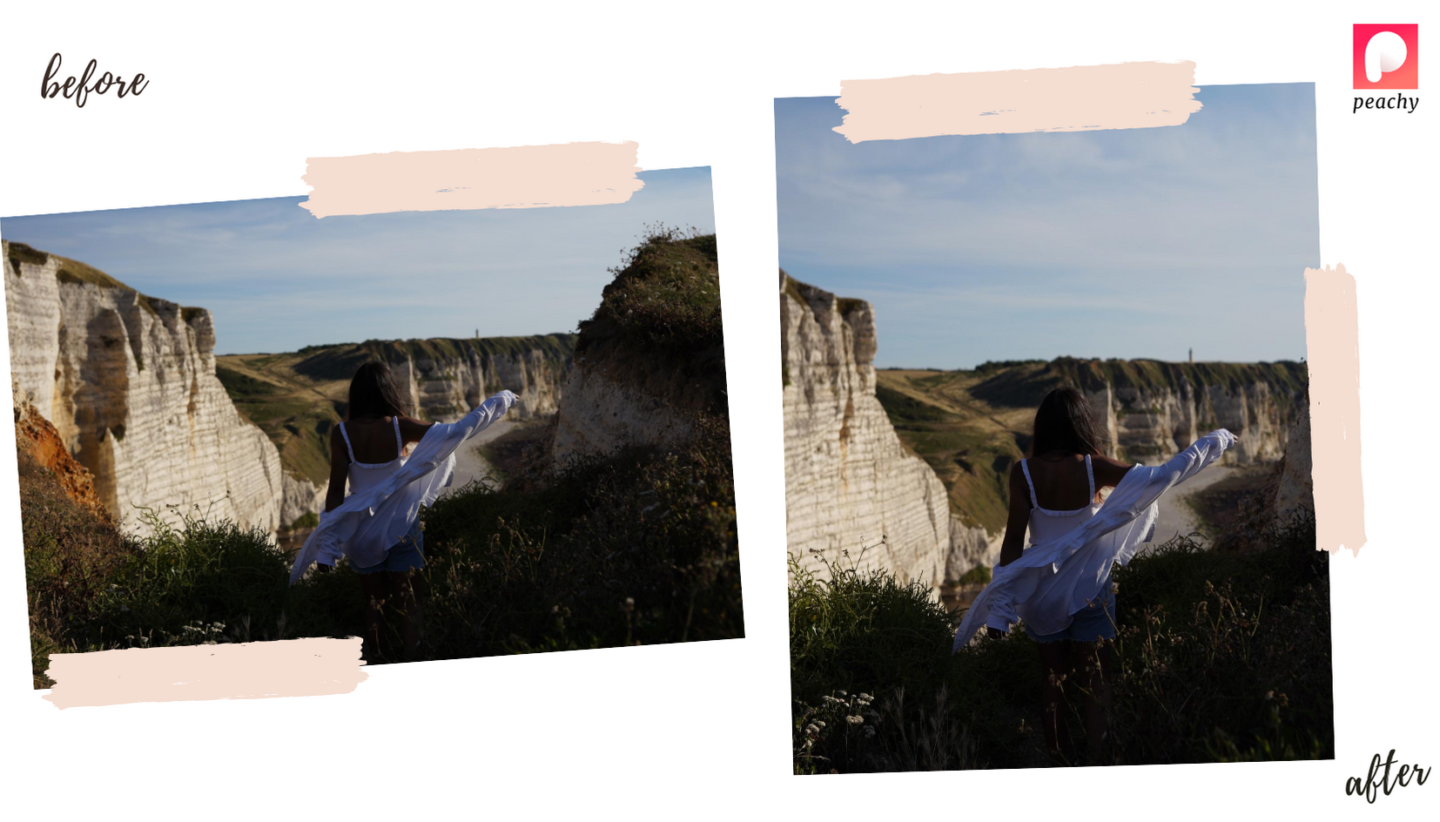
Here I’ve widened the top (sky) and the bottom (ground) of the picture without touching the cliffs and myself to not deform ; then trim the sides for a portrait format. Voilà, the picture is edited and it doesn’t lose quality.
If you just crop the sides, the image is pixelated & lose the quality ; it’s like you’re zooming the center.
Or if you want to put a photo on your Instagram but that one is too large and you can’t put the entire picture – Instagram cuts the top or the bottom of your image so you will lose a part of the picture
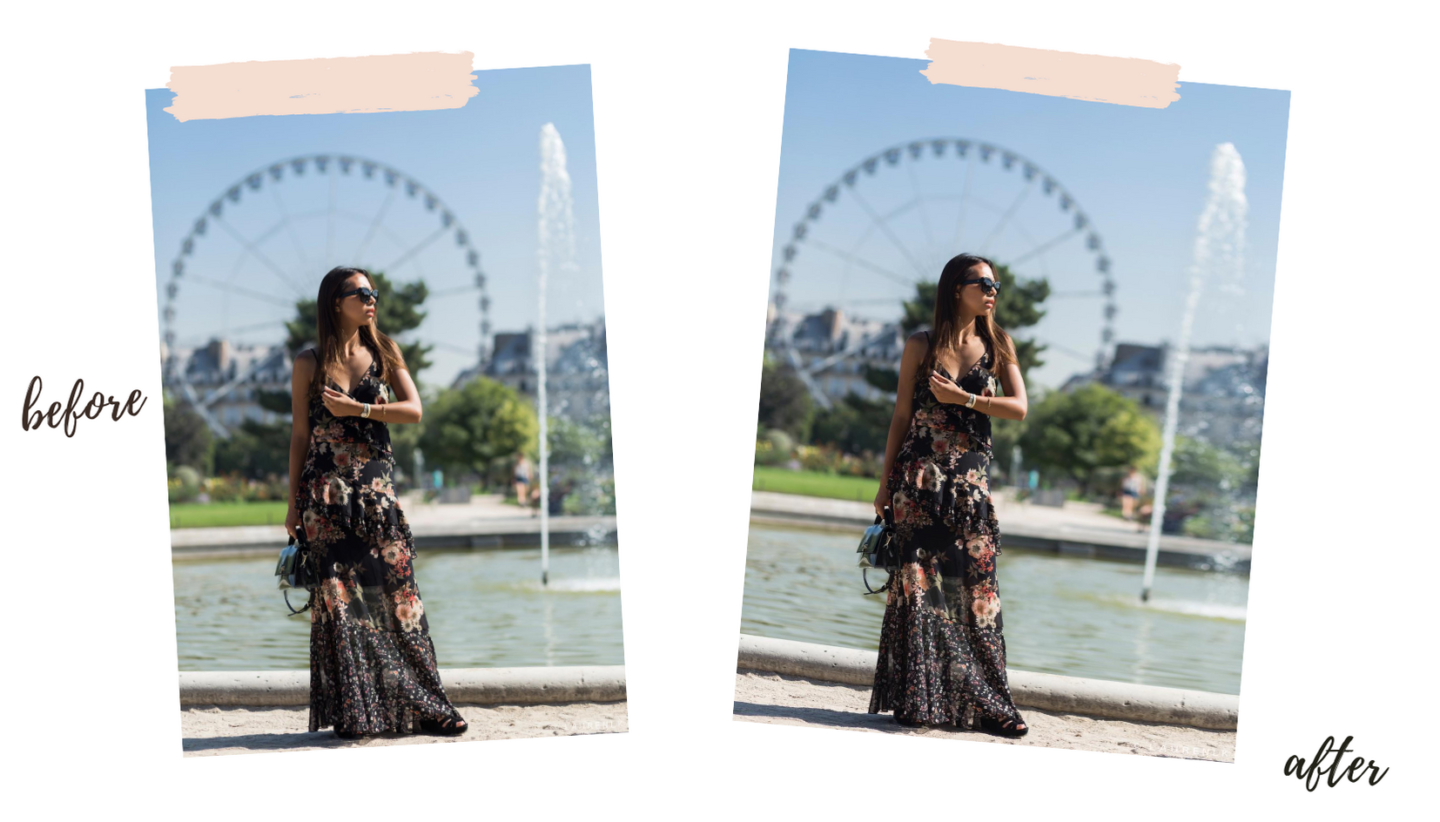
In this editing, I adjusted the portrait picture so it fits on Instagram for example, without cutting my feet or the ferris wheel. By using the TALL function, you expand the sides. As you can see the picture is wider, the dimension is 4:5 which fits perfectly on Instagram.
THE OTHER APPS
- TO TRANSFORM A LIVE PICTURE INTO VIDEO OR BOOMERANG, you don’t need apps. It’s possible to do it on the Iphone options. I find it very useful specially if you don’t always think to take videos.
If you don’t have Iphone, try IMG play but there’s a negative point for this app, when you convert into video, it lose in quality. - FOR EDITING SOME PICTURES AND VIDEOS WITH VINTAGE FILTERS, EFFECTS AND WITH TEZZA APP, TONE & VN
- TO CREATE TEMPLATES AND COLLAGES WITH ADOBE EXPRESS (ONLY WORKS W/ PICTURES)
- TO CREATE TEMPLATES AND COLLAGES OF PICTURES AND VIDEOS WITH UNFOLD, STORYLUXE
- INSHOT & CAPCUT TO EDIT YOUR VIDEOS LIKE A PRO (the app is easy to use and very complete: music, filters, text, cutting, transitions…)
Voilà, I hope you liked and enjoyed reading this article and will find you very useful. Don’t hesitate to comment below what apps do you use to edit your pictures & videos, which one do you already use and why not to share around you 🙂
Before/after pictures on my Instagram account: @hernameislindz